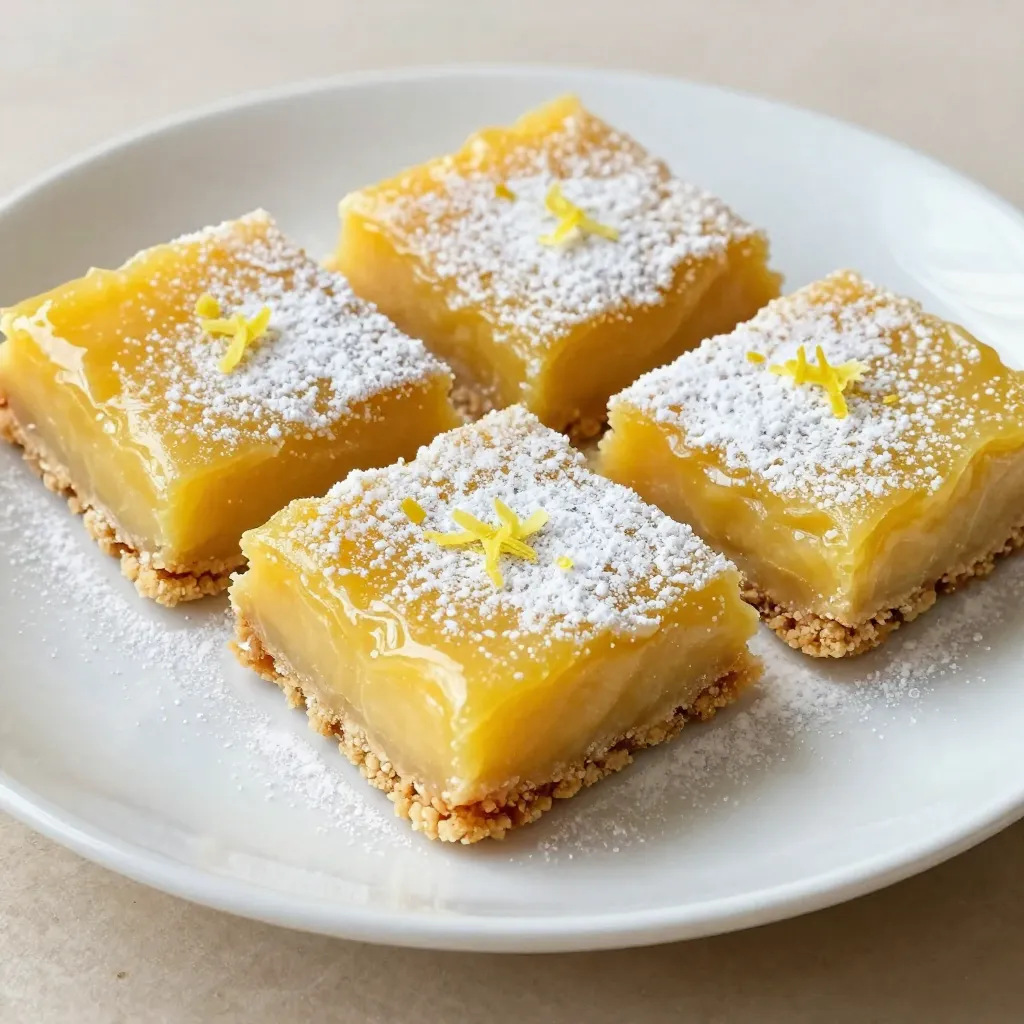
When you crave a sweet yet tangy treat, classic lemon bars are the answer. They’re easy to make and always impress. The buttery crust pairs perfectly with smooth lemon filling, creating a snack that feels special. In this post, I’ll show you step-by-step how to create these delicious bars at home. Ready to brighten your day? Let’s get started!
Why I Love This Recipe
- Bright Flavor Burst: The combination of fresh lemon juice and zest creates a refreshing and vibrant flavor that brightens up any dessert table.
- Easy to Make: This recipe is straightforward, requiring minimal ingredients and steps, making it perfect for bakers of all skill levels.
- Perfect Texture: The balance between the buttery crust and the smooth, tangy filling provides a delightful contrast in every bite.
- Great for Any Occasion: These lemon bars are versatile enough to be served at parties, picnics, or as a sweet treat at home.
Ingredients
List of Essential Ingredients
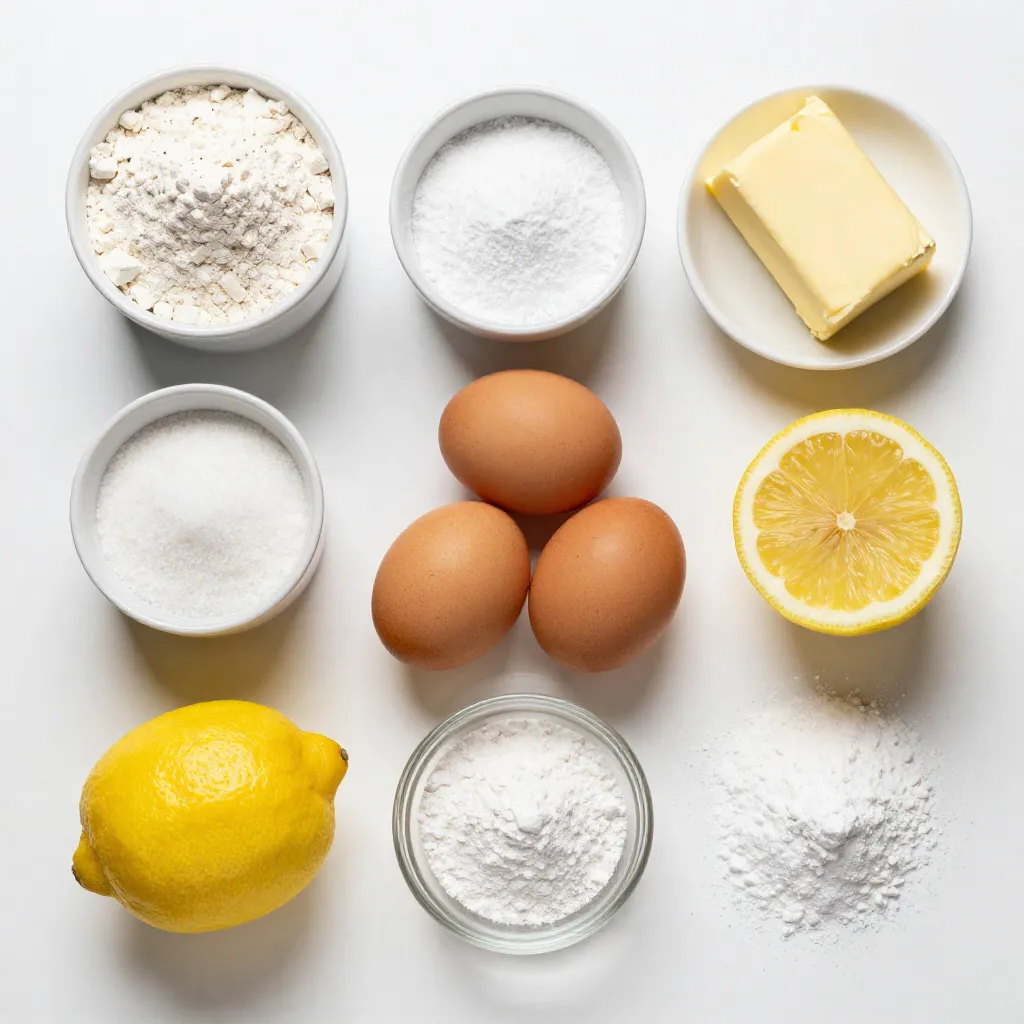
For these classic lemon bars, you will need:
– 1 cup all-purpose flour
– 1/2 cup powdered sugar
– 1/2 cup unsalted butter, softened
– 1/4 teaspoon salt
– 2 large eggs
– 1 cup granulated sugar
– 1/4 cup fresh lemon juice (about 2 lemons)
– Zest of 1 lemon
– 1/2 teaspoon baking powder
– Powdered sugar for dusting
These ingredients create a sweet and tart treat that everyone loves.
Recommended Tools and Equipment
To make these lemon bars, gather these tools:
– 9×9-inch baking pan
– Mixing bowls
– Whisk
– Measuring cups and spoons
– Rubber spatula
– Wire rack
These tools help you mix, bake, and cool your dessert with ease.
Substitutions and Allergies
If you have allergies or dietary needs, consider these swaps:
– Use gluten-free flour in place of all-purpose flour for a gluten-free option.
– Replace unsalted butter with coconut oil for a dairy-free treat.
– For a lower sugar option, try using a sugar substitute that measures cup-for-cup.
These substitutions help everyone enjoy lemon bars, no matter their diet.
Step-by-Step Instructions
Prepping the Crust
To start, you need to make the crust. First, preheat your oven to 350°F (175°C). This step is key to getting a nice, golden crust. Next, grab a mixing bowl. Combine 1/2 cup of softened butter, 1 cup of all-purpose flour, 1/2 cup of powdered sugar, and 1/4 teaspoon of salt. Mix these until they look like coarse crumbs. This part is fun! Press this mixture firmly into the bottom of a greased 9×9-inch baking pan. Make sure it’s even. Bake this crust for about 15-20 minutes. Once it’s lightly golden, take it out and let it cool a bit.
Making the Lemon Filling
While your crust bakes, it’s time to whip up the lemon filling. In a separate bowl, crack 2 large eggs. Add 1 cup of granulated sugar, 1/4 cup of fresh lemon juice, and the zest of 1 lemon. This zest adds a lot of bright flavor! Don’t forget to add 1/2 teaspoon of baking powder. Whisk these ingredients together until smooth and well mixed. The filling should look bright and sunny. Once your crust is out of the oven, pour this lemon mixture over it. This will create the perfect balance of tart and sweet.
Baking and Cooling Process
Now it’s time to bake everything again. Return the pan to the oven and bake for another 20-25 minutes. You’ll know it’s ready when the filling is set and doesn’t jiggle in the center. Once it’s done, take it out and let it cool on a wire rack. This step is important! After it cools completely, pop it in the fridge for at least 2 hours. This chilling time helps the flavors mix well. Finally, cut it into squares and dust with powdered sugar. Now you have a beautiful, tasty treat!
Tips & Tricks
Achieving the Perfect Lemon Flavor
To get the best lemon flavor, use fresh lemons. They give a bright taste. Grate the lemon peel to add zest. It boosts the flavor and aroma. Adding both juice and zest makes the bars zesty and fresh. Avoid using bottled lemon juice. It lacks the vibrant taste you want.
Tips for a Flaky Crust
For a flaky crust, keep your butter cold. Cut it into small pieces before mixing. This helps create little pockets of butter. When you bake, these pockets form air. It makes the crust light and flaky. Press the crust firmly into the pan. This prevents it from crumbling when you cut the bars.
Common Mistakes to Avoid
One common mistake is overmixing the crust. Mix until just combined to keep it tender. Another mistake is pouring the lemon filling on a hot crust. Let the crust cool slightly before adding the filling. This helps the layers stay distinct. Lastly, avoid opening the oven door while baking. It can cause the filling to sink.
Pro Tips
- Use Fresh Lemons: Freshly squeezed lemon juice and zest make a significant difference in flavor. Avoid bottled lemon juice for the best taste.
- Cool Before Cutting: Allow the bars to cool completely before cutting them into squares. This helps prevent them from falling apart.
- Chill for Best Flavor: Refrigerating the bars for at least 2 hours allows the flavors to meld and the texture to set perfectly.
- Variations: Experiment with different citrus fruits like lime or orange for a unique twist on the classic lemon bars.
Variations
Gluten-Free Classic Lemon Bars
You can make a gluten-free version of lemon bars. Use gluten-free flour instead of all-purpose flour. The taste stays great, and everyone can enjoy them. Make sure to check the flour package for a 1-to-1 swap. This small change helps those with gluten allergies enjoy a classic treat.
Adding Different Citrus Flavors
You can mix things up by adding other citrus flavors. Try using lime or orange juice instead of lemon juice. This change gives the bars a fresh twist. You can also blend different zests for a unique taste. Just keep the same amounts to make sure the filling sets right.
Creative Toppings and Garnishes
Toppings can also change the look and taste of your lemon bars. You might use whipped cream for a creamy touch. Fresh berries like raspberries or blueberries add color and flavor. You can also sprinkle nuts for a crunchy bite. Dusting with powdered sugar gives a sweet finish. These ideas let you play with flavors and styles to make your lemon bars special.
Storage Info
Best Methods for Storing Leftovers
To keep your lemon bars fresh, store them in an airtight container. Place a layer of parchment paper between layers to prevent sticking. Store them in the fridge for the best taste and texture. They will stay fresh for up to a week when stored this way.
How to Freeze Classic Lemon Bars
Freezing lemon bars is easy and keeps them tasty. First, let the bars cool completely. Then, cut them into squares. Wrap each square tightly in plastic wrap. Put the wrapped squares in a freezer-safe container or a zip-top bag. They can last up to three months in the freezer.
Shelf Life and Freshness Tips
Lemon bars are best eaten fresh, but they can last. In the fridge, they stay good for about a week. If you freeze them, they keep their flavor and texture for months. When you take them out to eat, thaw them in the fridge overnight for the best results. Always check for any signs of spoilage before enjoying your sweet treat.
FAQs
What is the origin of lemon bars?
Lemon bars have roots in the United States. They likely came from the 20th century. Many believe they started in the kitchens of American home bakers. The sweet and tart mix made them a hit. Today, they are a classic dessert found in many cookbooks.
Can I use bottled lemon juice instead of fresh?
You can use bottled lemon juice, but fresh is best. Fresh juice has a bright flavor. Bottled juice can taste flat or weak. If you choose bottled, pick a brand without added sugars or preservatives. It will help mimic the fresh taste.
How do I know when lemon bars are done baking?
Lemon bars are done when they look set. The center should not jiggle. You can test by gently shaking the pan. If the edges are firm and the middle is slightly soft, they are ready. They will continue to set as they cool.
Can I make lemon bars ahead of time?
Yes, you can make lemon bars ahead of time. They taste even better after chilling. Make them a day before serving to let the flavors blend. Just keep them covered in the fridge. They will stay fresh and delicious for up to a week.
Making lemon bars is easy with the right ingredients and tools. I’ve covered essential components, like substitutions and allergies, to help you enjoy these treats safely. The step-by-step instructions guide you through prepping, baking, and cooling, while tips ensure perfect flavor and texture. You can even try variations like gluten-free options or new citrus flavors. Finally, proper storage will keep your lemon bars fresh longer. Enjoy making lemon bars at hom