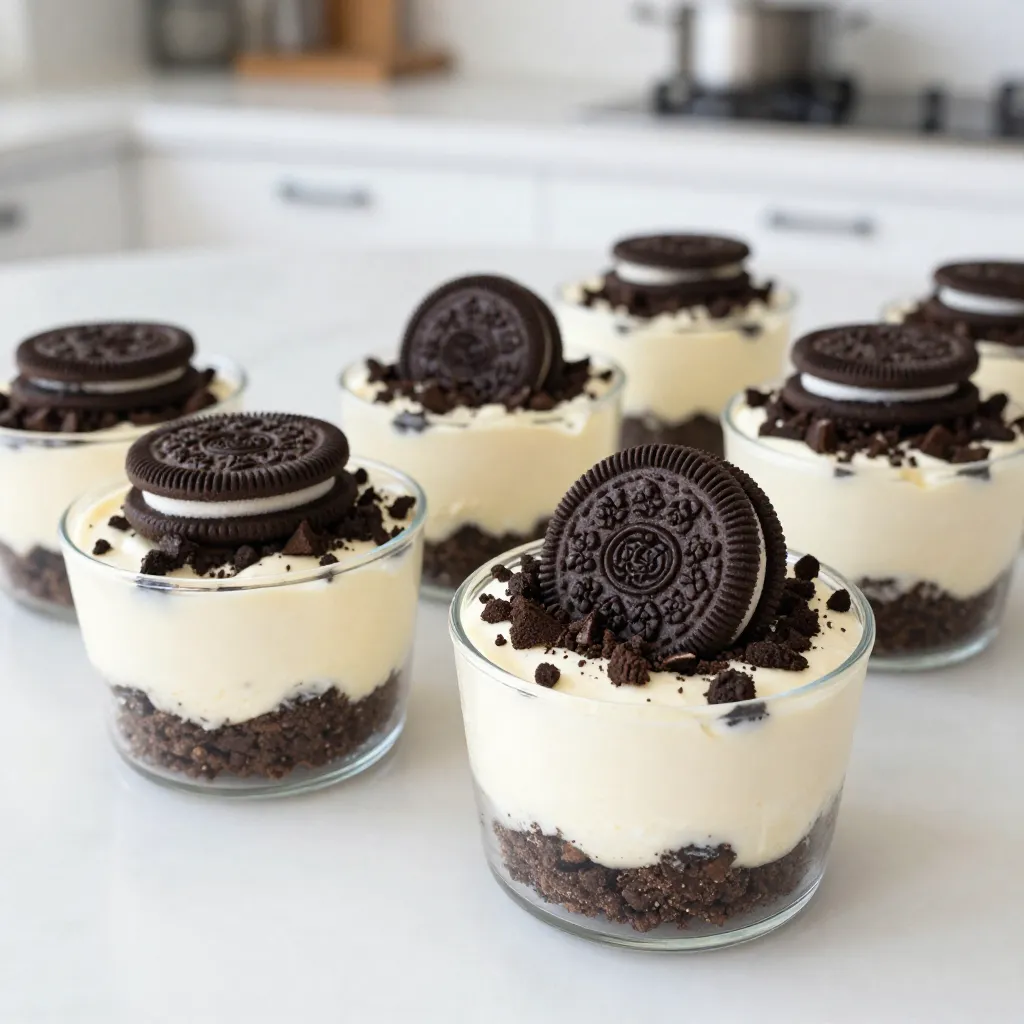
Craving a sweet treat without the fuss? I’ve got the perfect solution! These No-Bake Oreo Cheesecake Cups are not only easy to make but also pack a delightful punch of flavor. With just a few simple ingredients, you can whip up a rich, creamy dessert that’s ready to impress. Join me as I guide you through each step to create this delightful dessert that will have everyone asking for seconds!
Why I Love This Recipe
- Decadent Flavor: The combination of creamy cheesecake and crunchy Oreo cookies creates a delightful contrast that is hard to resist.
- Easy to Make: This recipe requires minimal effort and can be assembled in just 20 minutes, making it perfect for any occasion.
- Perfect for Sharing: These individual cups are not only cute but also easy to serve at parties or gatherings.
- Chill and Enjoy: After a few hours in the fridge, these cheesecake cups are ready to be savored, providing a refreshing dessert option.
Ingredients
Main Ingredients
– 20 Oreo cookies, crushed
– 4 tablespoons unsalted butter, melted
– 16 ounces cream cheese, softened
– 1 cup powdered sugar
– 1 teaspoon vanilla extract
– 1 cup heavy whipping cream
– 12 mini Oreos, for garnish
Optional Ingredients
– Additional crushed Oreos for topping
– Chocolate syrup for drizzling
When making no-bake Oreo cheesecake cups, the ingredients are key. The main stars are the Oreo cookies. You will crush them to make a tasty crust. The melted butter helps bind the crumbs together. This gives the crust a nice, firm base.
Next, we need cream cheese. Make sure it is softened. This will help it mix smoothly with the powdered sugar and vanilla. The powdered sugar adds sweetness, while the vanilla gives flavor.
Heavy whipping cream is the last main ingredient. When you whip it, it becomes light and fluffy. We gently fold this into the cream cheese mix. This creates a rich and airy cheesecake filling that tastes great.
Optional ingredients like extra crushed Oreos or chocolate syrup let you customize the dessert. Feel free to get creative with your toppings!

Step-by-Step Instructions
Prepare the Oreo Crust
1. First, crush 20 Oreo cookies in a bowl. You want them to be fine crumbs.
2. Next, melt 4 tablespoons of unsalted butter. Pour it over the crushed Oreo cookies.
3. Mix until the mixture looks like wet sand.
4. Now, divide this mixture into 8 serving cups. Press it down gently to make a firm crust.
Make the Cheesecake Filling
1. In a large bowl, beat 16 ounces of softened cream cheese. Keep mixing until it is smooth and creamy.
2. Slowly add 1 cup of powdered sugar and 1 teaspoon of vanilla extract. Mix until fluffy and well combined.
Incorporate Whipped Cream
1. In a separate bowl, whip 1 cup of heavy cream until you see stiff peaks form.
2. Gently fold the whipped cream into the cream cheese mixture. Do this in two parts to keep it light.
Assemble the Cups
1. Spoon or pipe the cheesecake filling into each cup over the crust. Fill them to the top for a nice look.
2. Take a few more Oreos and crush them. Sprinkle this on top of each cheesecake cup for extra crunch.
Chill and Serve
1. Place the cups in the refrigerator. Let them chill for at least 4 hours. This helps the filling set.
2. For a great presentation, serve the cups chilled. Garnish each with a mini Oreo on top. Add extra crushed Oreos around the base for a fun touch.
Tips & Tricks
Achieving the Best Texture
To make a great no-bake Oreo cheesecake, start with softened cream cheese. Softened cream cheese blends easily and gives your filling a creamy texture. If it’s cold, it will clump and not mix well.
Next, whip the heavy cream until it forms stiff peaks. This step is key to a light and airy filling. You know it’s ready when you can turn the bowl upside down without spilling it. Gently fold the whipped cream into the cream cheese mixture. This keeps it fluffy.
Presentation Ideas
Presentation makes your dessert even more fun. Garnish each cup with a mini Oreo on top. It adds a cute touch and makes each cup pop.
You can also drizzle chocolate syrup over the cheesecake. Adding some crushed Oreos on top creates extra texture and flavor. These small details make your cups look fancy!
Common Mistakes to Avoid
Avoid over-mixing the filling. If you mix too much, the air will escape, and your filling will be dense.
Never skip the chilling step! Refrigerate the cups for at least 4 hours. This helps the filling set properly. If you skip this, your cups may not hold their shape.
Pro Tips
- Crust Consistency: Ensure the crushed Oreo and butter mixture is well combined to form a sturdy base for your cheesecake cups.
- Whipping Cream Technique: When whipping the heavy cream, make sure it’s chilled; this will help achieve the best stiff peaks.
- Folding Method: Gently fold the whipped cream into the cream cheese mixture to maintain the light and airy texture of the cheesecake.
- Setting Time: Allow the cheesecake cups to set in the refrigerator for at least 4 hours; overnight is even better for enhanced flavors.
Variations
Flavor Variations
You can easily change the flavor of your Oreo cheesecake cups. Try these fun twists:
– Mint Oreo cheesecake cups: Use mint-flavored Oreos instead of regular ones. Add a drop of peppermint extract to the cream cheese mix. This gives a fresh, cool flavor.
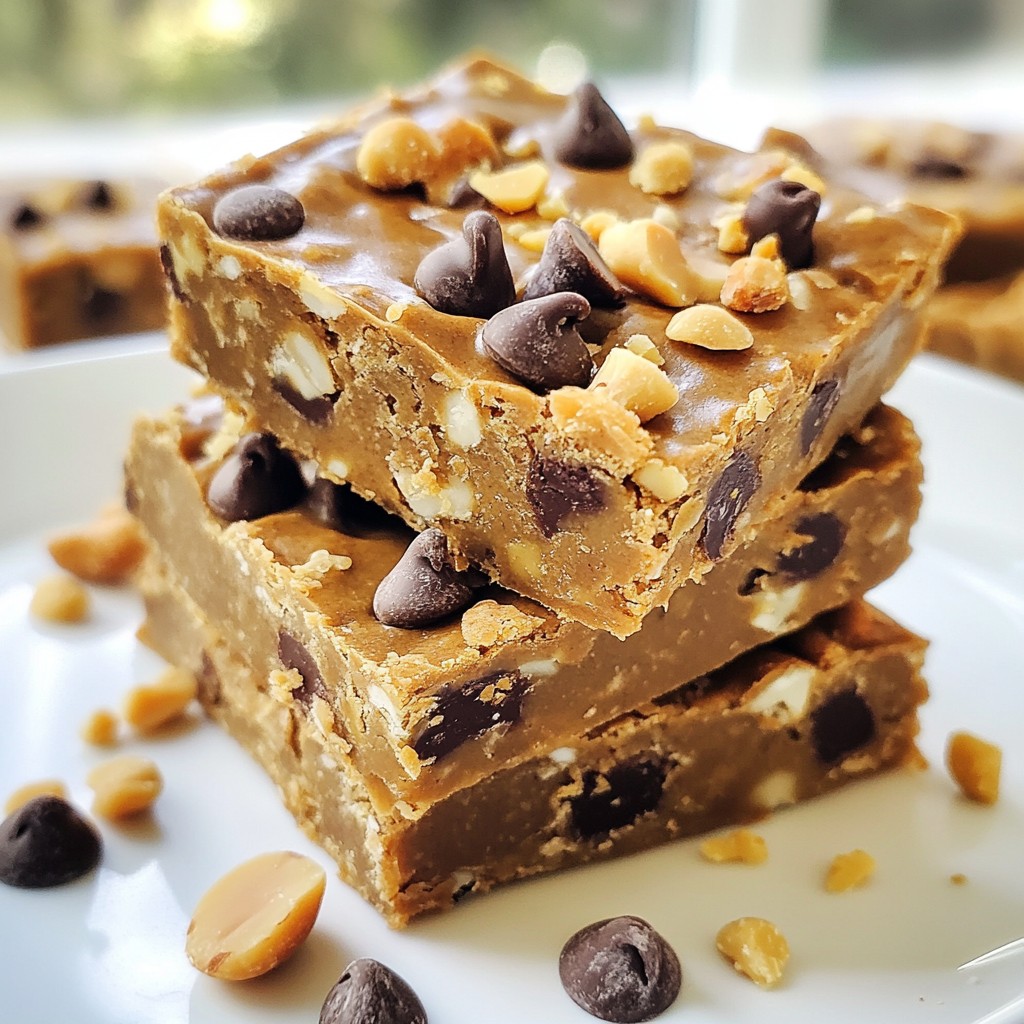
– Peanut butter Oreo cheesecake cups: Mix in some creamy peanut butter with the cream cheese. You can also use peanut butter Oreos for extra yumminess!
Alternate Serving Suggestions
Get creative with how you serve these cups:
– Layering with different types of cookies: Mix in other cookie crumbs, like chocolate wafers or graham crackers, for a varied taste. Each layer can bring a new surprise!
– Creating a dessert parfait: Layer the cheesecake filling, Oreo crust, and other toppings in a tall glass. This makes a beautiful dessert that’s fun to eat.
Ingredient Substitutions
Don’t worry if you need to swap some ingredients:
– Using low-fat cream cheese: This option cuts down on calories but still keeps the taste creamy and rich.
– Dairy-free alternatives for whipped cream: Use coconut cream or almond milk whipped topping. These options let everyone enjoy dessert, even those with dairy allergies!
Storage Info
Refrigeration Guidelines
To keep your Oreo cheesecake cups fresh, store them in the fridge. Use an airtight container to prevent any odors from other foods. If you have extra cups, place parchment paper between layers to avoid sticking. The shelf life in the refrigerator is about 3 to 4 days. After that, the texture and flavor may change.
Freezing Instructions
You can freeze Oreo cheesecake cups if you want to save some for later. To freeze, wrap each cup in plastic wrap and then place them in a freezer-safe bag. This helps keep them fresh and prevents freezer burn. For the best results, eat them within one month.
When you’re ready to enjoy, take them out and thaw in the fridge overnight. Avoid thawing at room temperature, as this can make the filling too soft. Enjoy your delicious treat!
FAQs
Can I make this recipe ahead of time?
Yes, you can make these cups up to two days in advance. Store them in the fridge. This allows the flavors to blend well. Just make sure to cover them tightly. They will taste even better after chilling overnight.
How do I avoid a runny filling?
To avoid a runny filling, ensure your cream cheese is very soft. If it’s too cold, it won’t mix well. Also, whip the cream until it forms stiff peaks. This adds air and helps the filling set nicely. Gently fold the whipped cream into the cream cheese mix. Be careful not to over-mix, as this can deflate the cream.
Can I use other cookies instead of Oreos?
Absolutely! You can use other cookies like chocolate sandwich cookies or graham crackers. Experiment with flavors like peanut butter or mint. Each choice will give your cheesecake a unique twist. Just remember to crush them finely for the best crust.
You learned how to make simple and tasty Oreo cheesecake cups. Start with crushed Oreos and a creamy filling. Follow the steps to create a delicious dessert. Remember to chill them for best results. Use tips to avoid common mistakes. Feel free to try variations and substitutions. This dessert can impress anyone. So, gather your ingredients and enjoy making them with eas