Are you ready to elevate your snack game with a treat everyone loves? Salted Caramel Rice Krispie Treats pack sweet and salty bliss into each bite. This delightful recipe is super easy and fun to make. You’ll impress friends and family while satisfying your cravings. Let’s dive into the simple ingredients, step-by-step instructions, and helpful tips to create this irresistible snack!
Why I Love This Recipe
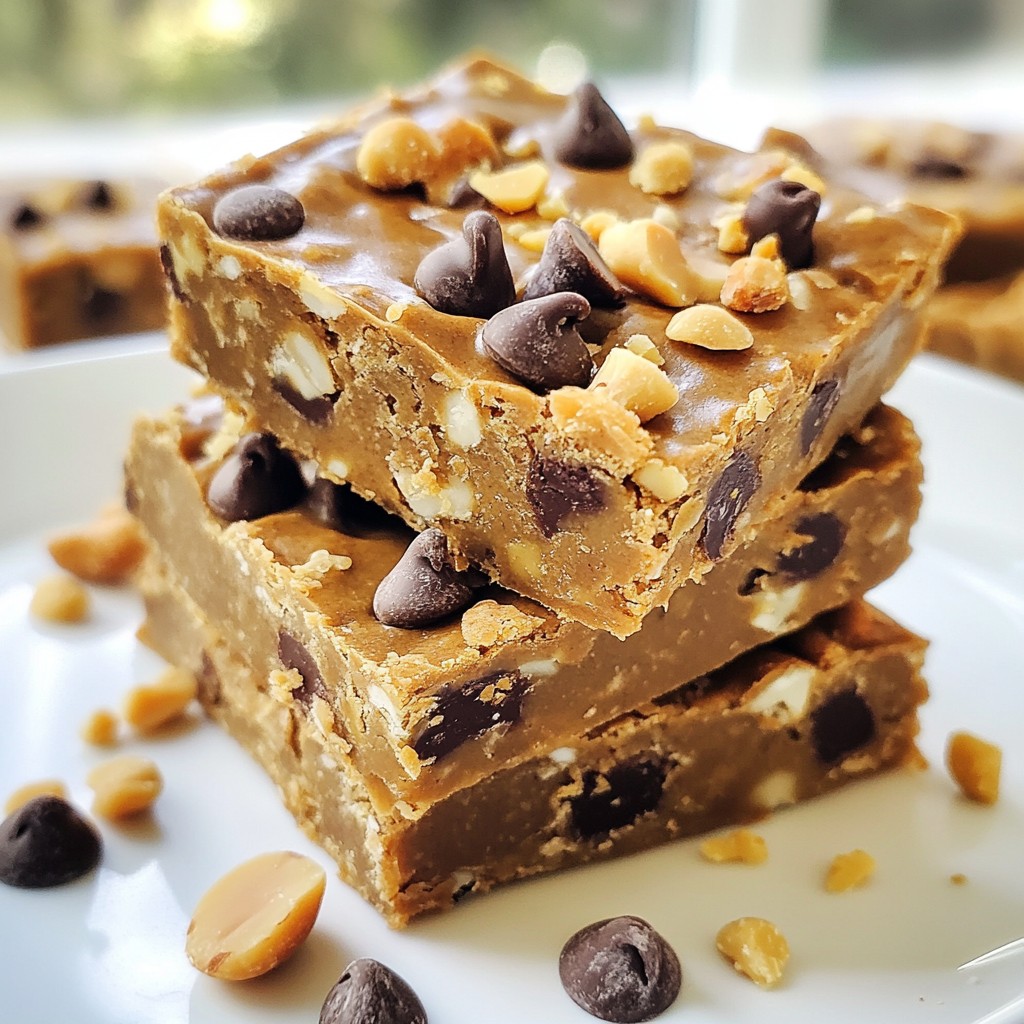
- Irresistible Flavor: The combination of salted caramel and peanut butter creates a sweet and salty explosion that’s hard to resist!
- Quick and Easy: This recipe comes together in just 40 minutes, making it perfect for last-minute treats or gatherings.
- Customizable: Feel free to add your favorite mix-ins like chocolate chips, nuts, or even a drizzle of chocolate on top!
- Kid-Friendly Fun: Making these treats is a great activity to do with kids, allowing them to help mix and press the mixture!
Ingredients
Required Ingredients
To make salted caramel rice Krispie treats, you will need:
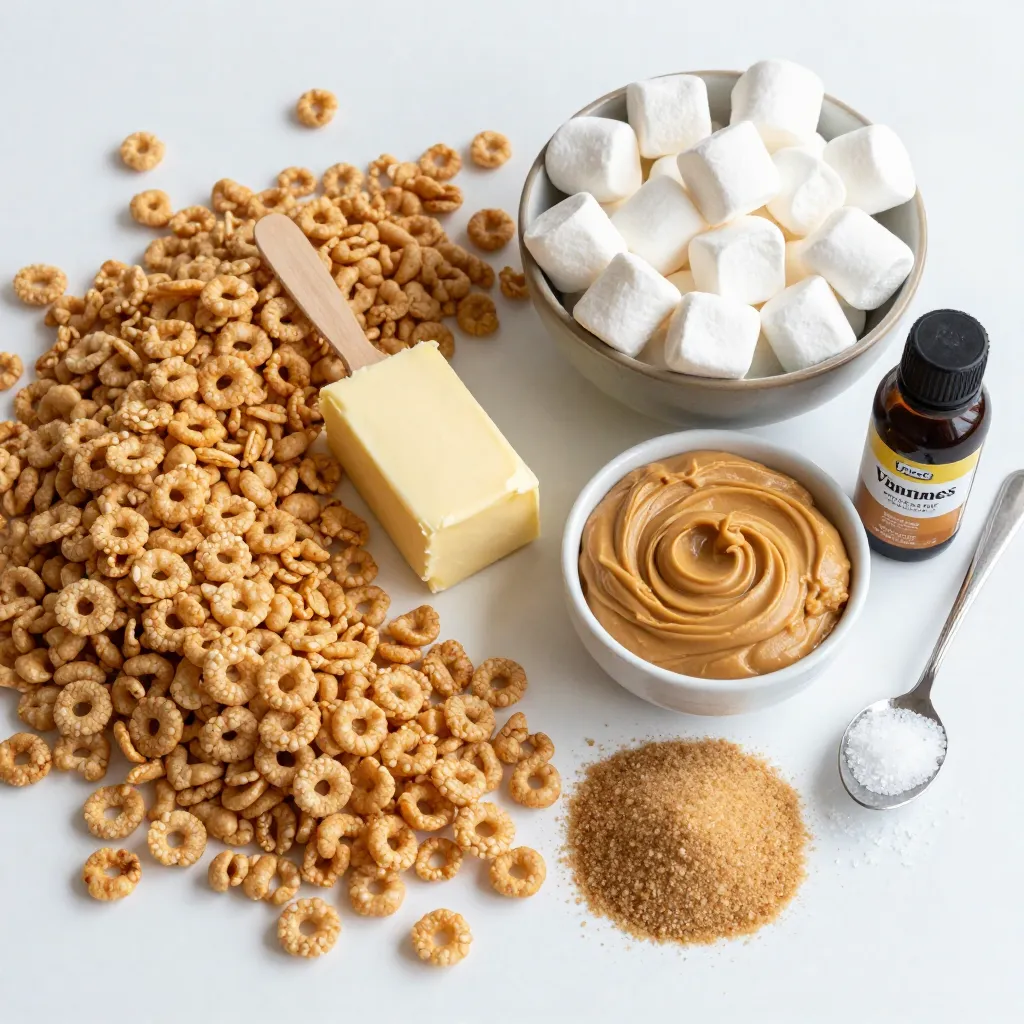
– 6 cups Rice Krispies cereal
– 1 cup mini marshmallows
– 1/2 cup unsalted butter (1 stick)
– 1 cup creamy peanut butter
– 1 cup brown sugar, packed
– 1 teaspoon vanilla extract
– 1 teaspoon sea salt (plus extra for sprinkling)
These ingredients come together to create a sweet and salty snack. The Rice Krispies give a nice crunch, while the marshmallows add chewiness. The peanut butter and brown sugar create a rich caramel flavor.
Optional Add-Ins
You can make these treats even better with some add-ins:
– Chocolate chips
– Nuts, like almonds or pecans
– Dried fruit, like cranberries or raisins
Adding these extras can change the flavor and texture. For example, chocolate chips bring a sweet contrast to the salt. Nuts add a crunchy bite.
Substitutions
You might not have all the ingredients on hand. Here are some easy swaps:
– Use salted butter instead of unsalted butter for extra flavor.
– Swap out peanut butter for almond butter or sunbutter for a nut-free option.
– If you don’t have brown sugar, white sugar works too, but it will change the flavor a bit.
These substitutions can help you get creative while still making tasty treats.
Step-by-Step Instructions
Melting the Base Mixture
Start by getting a large saucepan. Place it on the stove over medium heat. Add 1/2 cup of unsalted butter to the pan. Watch it melt slowly. Once it melts, stir in 1 cup of packed brown sugar. Mix them well until it starts to bubble. This should take about 2-3 minutes. You want it to be smooth and mixed.
Next, add 1 cup of creamy peanut butter to the bubbling mix. Stir it continuously until it becomes smooth. This should take around 1-2 minutes. Remove the pan from the heat. Stir in 1 teaspoon of vanilla extract and 1 teaspoon of sea salt. This adds flavor to your base.
Combining Ingredients
Now, it’s time for the fun part! Grab 1 cup of mini marshmallows. Add them to the melted mixture while it is still warm. Stir well until all the marshmallows melt into the mix. They should blend in fully, making a thick and gooey mixture.
In a large mixing bowl, pour in 6 cups of Rice Krispies cereal. This is what gives our treats that crunchy texture. Now, take the melted mixture and pour it over the cereal. Stir gently. You want to coat every piece of cereal without crushing it.
Setting the Treats
Next, get a 9×13 inch baking dish. Lightly grease it with butter or cooking spray. Pour the Rice Krispies mixture into the dish. Use a spatula to press the mixture down firmly. Make sure it forms an even layer.
For an extra touch, sprinkle a pinch of sea salt over the top. This adds a nice finish. Allow the treats to cool at room temperature. Wait about 30 minutes before cutting them into squares or rectangles. Enjoy your tasty creation!
Tips & Tricks
Storing Leftovers
To keep your Rice Krispie treats fresh, store them in an airtight container. You can use a plastic or glass container. They stay soft for up to five days. If you layer them, place parchment paper between layers to prevent sticking. You can also wrap individual squares in plastic wrap for easy grab-and-go snacks.
Ensuring Perfect Texture
To get the best texture, do not pack the mixture too tightly in the pan. Press it down gently for a soft, chewy treat. If you want a firmer texture, you can press a bit harder. Make sure to let them cool completely before cutting. A warm treat may fall apart.
Serving Suggestions
These treats are great on their own, but you can add more fun! Cut them into fun shapes with cookie cutters. Drizzle melted chocolate on top for a sweet touch. You can serve them with a scoop of ice cream for a delightful dessert. Pair them with fresh fruit for a balanced snack option.
Pro Tips
- Use Fresh Ingredients: Ensure your butter and marshmallows are fresh for the best flavor and texture.
- Press Firmly: Press the mixture firmly into the baking dish to achieve a compact and chewy treat.
- Experiment with Toppings: Try adding chocolate chips or chopped nuts on top for extra flavor and texture.
- Store Correctly: Keep the treats in an airtight container to maintain their freshness and chewiness for longer.
Variations
Chocolate Drizzle
You can add a tasty chocolate drizzle to your treats. To do this, melt 1 cup of chocolate chips in a microwave. Heat in short bursts to avoid burning. Once melted, drizzle over the cooled treats. This adds a rich flavor that pairs well with salted caramel.
Nut-Free Option
If you want a nut-free treat, replace the peanut butter with sun butter or soy nut butter. These options give you a similar creamy texture. They also keep the treats safe for kids with nut allergies. Just make sure to check labels for any hidden allergens.
Holiday-Themed Treats
You can make these treats festive for holidays. For Halloween, add orange and black sprinkles. For Christmas, use red and green sprinkles. You can also cut them into fun shapes using cookie cutters. This makes them more fun to eat and share.
Storage Info
Storage Container Recommendations
To keep your salted caramel rice Krispie treats fresh, use an airtight container. A glass or plastic container works well. Line the container with parchment paper for easy removal. If you stack the treats, add more parchment paper between layers.
Freezer Instructions
You can freeze these treats for longer storage. Wrap each treat in plastic wrap. Then, place them in a freezer bag or airtight container. They can last up to three months in the freezer. When ready to eat, thaw them in the fridge overnight.
Shelf Life
These treats stay fresh at room temperature for about three days. Store them in a cool, dry place away from sunlight. If you refrigerate them, they can last up to a week. Just be sure to keep them covered to avoid drying out.
FAQs
How can I make these treats gluten-free?
To make gluten-free salted caramel rice Krispie treats, use gluten-free rice cereal. Most brands offer this option. Always check the label to be sure. You can also use gluten-free mini marshmallows. They are easy to find in most stores.
Can I use different cereals?
Yes, you can use different cereals! Crisped rice cereal works best, but feel free to experiment. Try cornflakes or even puffed rice. Each cereal brings a unique texture and flavor. Just keep the same amount as the recipe states.
What to do if my treats are too sticky?
If your treats are too sticky, you can fix this. First, let them cool longer before cutting. If they stay sticky, try adding more Rice Krispies cereal. Mix in a few more cups. This adds texture and makes them easier to handle.
This post covered key ingredients needed for your treats, with useful substitutions. I detailed step-by-step instructions for melting, mixing, and setting your treats. Tips and tricks help you store leftovers and ensure the perfect texture. We also explored fun variations, such as a chocolate drizzle or nut-free options. Lastly, I shared storage info to keep your treats fresh.
With these insights, you can create tasty treats with ease. Enjoy making them your ow