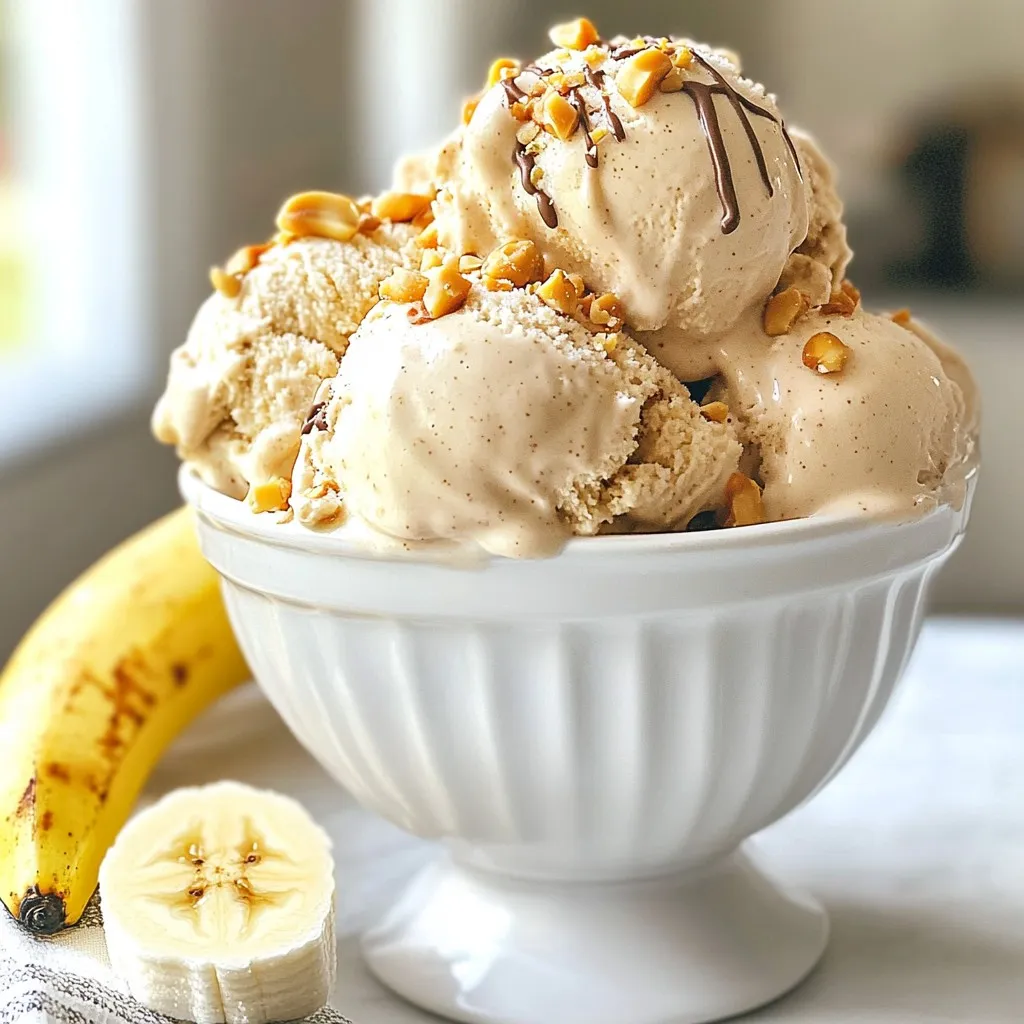
If you’re looking for a tasty and healthy dessert, I’ve got the perfect recipe for you: Vegan Peanut Butter Banana Ice Cream! Made with just a handful of simple ingredients, this creamy treat will satisfy your sweet tooth without any guilt. Imagine the rich flavor of peanut butter blended with cool, ripe bananas. Ready to indulge? Let’s dive into this easy recipe that everyone will love!
Why I Love This Recipe
- Deliciously Creamy: This ice cream is incredibly smooth and creamy, thanks to the coconut milk and peanut butter, making it a satisfying treat.
- Easy to Make: With just a few simple ingredients and minimal prep time, this recipe is perfect for a quick and delicious dessert.
- Healthy Indulgence: Using ripe bananas as the base means you’re enjoying a dessert that’s naturally sweet and full of nutrients.
- Customizable: You can easily adjust the sweetness or add your favorite toppings, making it a versatile dessert for any occasion.
Ingredients
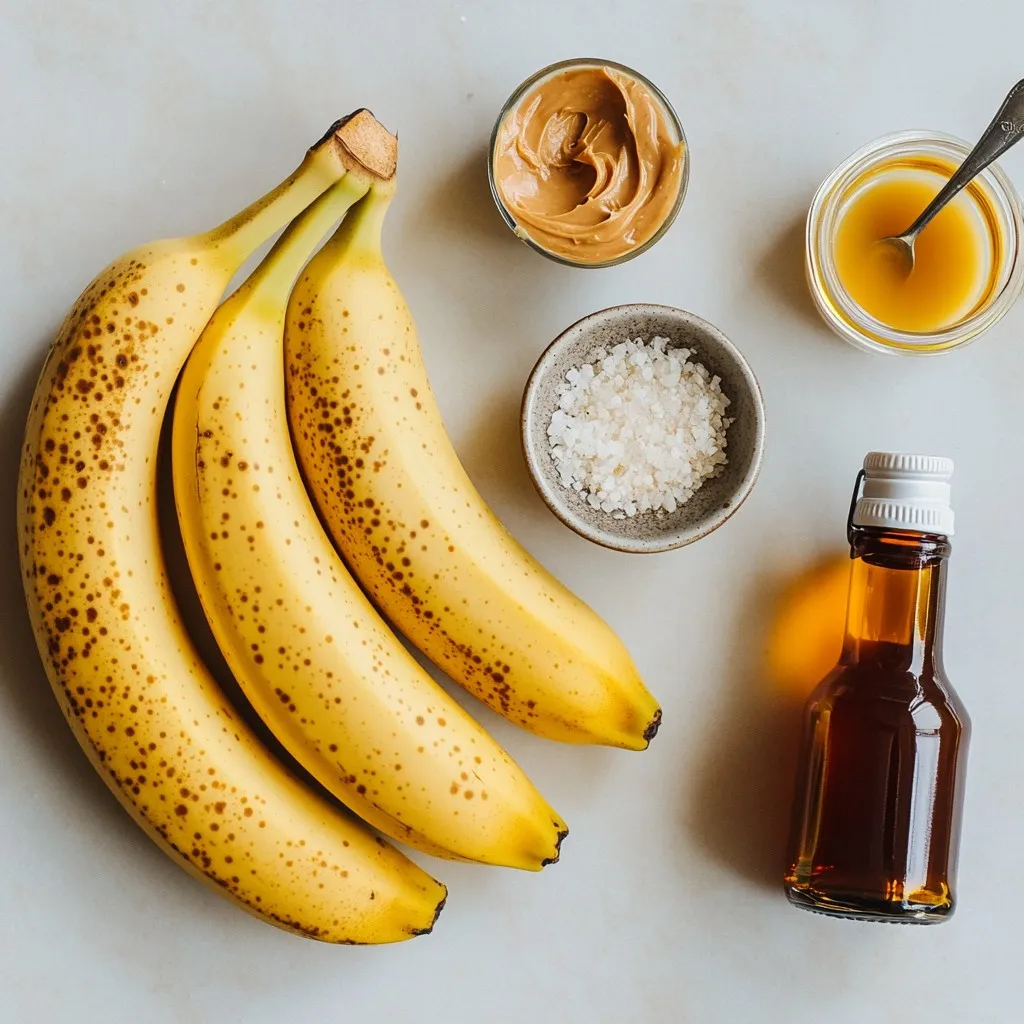
List of Ingredients
– Ripe bananas
– Creamy peanut butter
– Coconut milk
– Maple syrup (optional)
– Vanilla extract
– Pinch of salt
To create vegan peanut butter banana ice cream, you need six simple ingredients. Start with ripe bananas; they should be soft and sweet. The riper, the better! Next, grab some creamy peanut butter. This adds richness and flavor.
Coconut milk gives the ice cream a creamy texture. I recommend using full-fat coconut milk for the best results. If you want a bit more sweetness, maple syrup is a great option. You can add vanilla extract for a hint of warmth. Finally, a pinch of salt balances all the flavors perfectly.
By using these ingredients, you ensure a delicious treat. Each item plays a key role in making this ice cream smooth and tasty.
Step-by-Step Instructions
Preparation of Bananas
Start by peeling your ripe bananas. Cut them into small rounds. Spread the slices out on a baking sheet. Make sure they are in a single layer. Place the baking sheet in the freezer. Freeze the banana slices for at least 2 hours or until they are solid. This step is key for a creamy texture.
Blending the Ingredients
After the bananas are frozen, it’s time to blend. Move the banana slices to a food processor. Add in the creamy peanut butter, coconut milk, maple syrup (if you want it sweeter), vanilla extract, and a pinch of salt. Blend on high speed. You may need to stop and scrape down the sides. Keep blending until the mixture is super smooth. This may take a few minutes, so just be patient!
Serving Suggestions
You can serve the ice cream right away for a soft-serve treat. Just scoop some into bowls and enjoy! If you prefer a firmer texture, transfer the mixture to an airtight container. Freeze it for an extra 1-2 hours. When you are ready to serve, let it sit at room temperature for about 5 minutes. This helps to soften it slightly for easy scooping.
Tips & Tricks
Achieving Creaminess
To make your ice cream super creamy, use full-fat coconut milk. This will give your treat a rich texture. The creaminess also depends on your bananas. Make sure they are nice and ripe. Ripe bananas are sweeter and blend better. Look for bananas with brown spots. This means they are ready for freezing.
Sweetness Adjustment
Taste your mixture before you freeze it. You can adjust the sweetness easily. If you find it needs more sweetness, add a bit of maple syrup. Blend again until mixed well. If you want different sweeteners, try agave syrup or honey. Both will work well and add their own flavor.
Presentation Ideas
When serving, scoop the ice cream into fun bowls. You can add toppings like crushed peanuts or chocolate drizzle. These add crunch and sweetness. For a special touch, sprinkle a bit of cinnamon on top. A slice of fresh banana on the side also looks great. This makes your treat even more inviting!
Pro Tips
- Use Overripe Bananas: The riper the bananas, the sweeter and creamier your ice cream will be. Look for bananas with brown spots for optimal flavor.
- Blend Thoroughly: Make sure to blend until completely smooth. This will ensure a creamy texture without any chunks of banana.
- Experiment with Flavors: Feel free to add different flavorings such as cinnamon or cocoa powder for a unique twist on this classic recipe.
- Storage Tips: Store any leftover ice cream in an airtight container to prevent freezer burn. Let it sit at room temperature for a few minutes before serving for best texture.
Variations
Flavor Additions
You can make this ice cream even better with fun mix-ins. Try adding chocolate chips for a sweet crunch. Chopped nuts can add a nice texture, too. You can also swap out peanut butter for other nut butters, like almond or cashew. Each nut butter brings its own taste, making the ice cream different each time!
Health-Conscious Variants
If you want a lighter version, use less peanut butter. You can also swap the coconut milk for a low-fat kind. For a sugar-free treat, skip the maple syrup. Instead, use a sugar substitute like stevia or erythritol. These options keep the taste yummy while cutting calories.
Seasonal Flavors
Seasonal fruits can give your ice cream a fresh spin. In summer, add ripe strawberries or peaches. In fall, try pumpkin or cinnamon for a cozy flavor. You can also use spices like nutmeg or cardamom to change things up. These small tweaks can make your ice cream special for any time of year!
Storage Info
Freezing Recommendations
To keep your vegan peanut butter banana ice cream fresh, use an airtight container. Glass or plastic containers work best. Make sure the lid seals tightly. This helps prevent ice crystals from forming. Before you freeze it, smooth the top of the ice cream. This way, it freezes evenly. You can also cover the surface with plastic wrap for extra protection.
Shelf Life
Your ice cream will last in the freezer for about two weeks. After that, it may lose flavor and texture. Look for signs of spoilage. If the ice cream has ice crystals on top or a strange smell, it’s time to toss it. Always trust your senses! If it looks or smells off, don’t eat it. Enjoy your treat while it’s fresh!
FAQs
Can I make this recipe without a food processor?
Yes, you can use a blender instead. A strong blender works well. If you have a hand mixer, that can work too. Just make sure your bananas are very soft. You may need to blend longer to get it smooth.
Is this recipe kid-friendly?
Absolutely! Kids love peanut butter and bananas. This ice cream is also healthy. It has no added sugar if you skip the maple syrup. Bananas provide vitamins and potassium. Peanut butter adds protein and healthy fats. Many parents say their kids enjoy this treat more than store-bought ice cream.
Can I make this ice cream in advance?
Yes, you can prepare this ice cream ahead of time. Just freeze it in an airtight container for up to a week. If you want to serve it later, let it sit out for a few minutes before scooping. This makes it easier to scoop and enjoy!
This blog post covers how to make a simple, healthy ice cream using ripe bananas, peanut butter, and coconut milk. We explored preparation steps, blending tips, and serving ideas. I shared ways to enhance creaminess and adjust sweetness. Variations include flavor additions and health-conscious options. Finally, we discussed storage tips to keep your ice cream fresh.
Creating this treat is fun and easy. Experiment with flavors and enjoy your delicious results! You’ll keep wanting more of this tasty, homemade ice crea